Initial review of the Freenove Robot Dog Kit
December 16, 2022
Introduction
This is my initial review of the Freenove Robot Dog Kit for Raspberry Pi. I purchased this kit from my own funds, thanks to Hotjar’s Personal Development perk.
I am not affiliated with Freenove.
Computing on four legs
This particular kit caught my eye for a few reasons:
- I wanted to make use of one of my older Raspberry Pi 3s which had been recently retired from my home compute cluster.
- I wanted to expose my daughter to the idea of robotics within the household. We already have a robot vacuum and the robot dog could help expand her understanding of what a robot could be. We had seen Boston Dynamics’ Spot videos many times together.
- I wanted to have a platform to experiment with software and AI within a physical space with compute and network constraints present (AKA ‘at the edge’) rather than a big desktop PC with an even bigger GPU and unlimited power supply.
Buying the kit
I purchased the kit from Amazon for around 150 Euros and it arrived pretty quickly.
The batteries were proving difficult to source online as this kit in particular needs high current draw batteries (the instructions include guidelines on which batteries are ideal).
I eventually realised that the batteries ideal for this kit are the same kind of batteries used in Vapes. A local Vape shop had them in stock and delivered them to me in same day for around 25 Euros.
Best consult the document first to make sure you can acquire the batteries easily.
Building the kit
The instructions were available on the kit’s GitHub Repository as a PDF. The document includes instructions for both the physical build and setting up the code on the server (the Raspberry Pi) and the client (in my case, my personal laptop running Ubuntu).
The physical build
The instructions for building the kit are very good. I only experienced two small issues:
- I did not realise there was a smaller screw driver in the box and ended up coming close to stripping some of the screw heads (this was my fault)
- The acrylic parts of the kit came covered in a brown paper. At first I proceeded to build the kit with the paper attached and then after realised it was just a cover that you can remove with a little force and a finger nail.
I ended up having to disassemble a few of the legs just to remove the cover followed by rebuilding them.
The process took longer than I thought it would, in part because for some parts of the process you need to take out small screws that are in separate small bags next to the servos and this is somewhat time consuming.
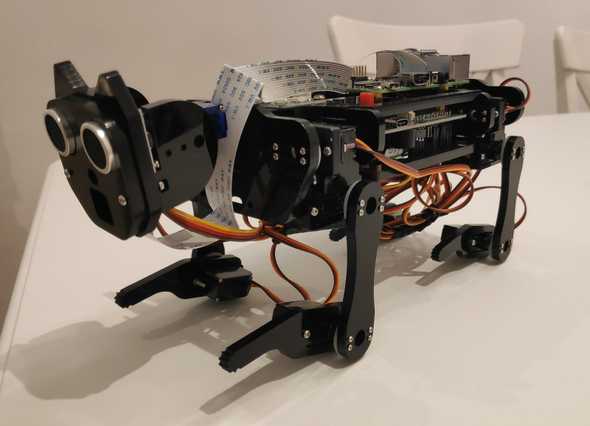
The final build quality comes out pretty sturdy at the end. Each of the legs will have a mess of wires passing underneath the belly of the dog which can be somewhat remedied with the cable organizing tube that comes with the box.
This organizer is not listed in the instructions. The ribbon cable for the camera hangs a bit awkwardly over the top of the robot.
I tried to encourage my daughter to do the build with me however the smaller screws and pieces were discouraging for safety reasons, apart from her inability to focus on the build for longer than five minutes at a time since it was taking a while to complete and she just wanted to see it working.
The software
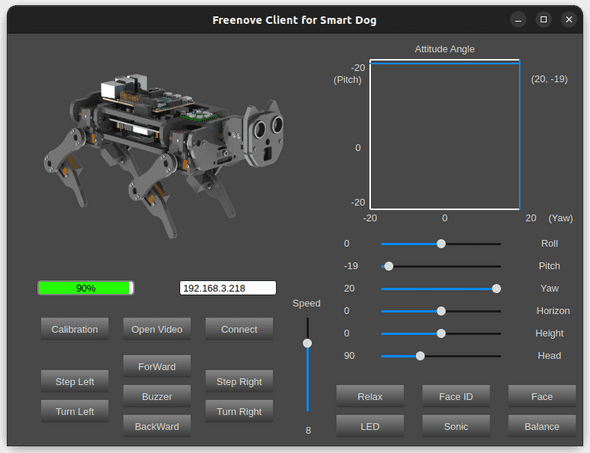
The software for both the client and the server are written in Python and are also available on GitHub in the same repository as the instructions.
There were multiple steps in the instructions about how to set up the Raspberry Pi from scratch and even setup VNC which I initially skipped with the intention of interacting only over ssh.
The entire repository is pretty big (around 544MB) so it took a while to download onto the Pi. This is mainly due to the repository including pre-compiled executables for Mac and Windows and due to git itself. Both of these occupy 532MB:
 du -h Freenove_Robot_Dog_Kit_for_Raspberry_Pi
1.2M    Freenove_Robot_Dog_Kit_for_Raspberry_Pi/Application/windows/Face
680K    Freenove_Robot_Dog_Kit_for_Raspberry_Pi/Application/windows/Picture
72M     Freenove_Robot_Dog_Kit_for_Raspberry_Pi/Application/windows
1.2M    Freenove_Robot_Dog_Kit_for_Raspberry_Pi/Application/mac/Face
680K    Freenove_Robot_Dog_Kit_for_Raspberry_Pi/Application/mac/Picture
98M     Freenove_Robot_Dog_Kit_for_Raspberry_Pi/Application/mac
169M    Freenove_Robot_Dog_Kit_for_Raspberry_Pi/Application  <----
4.0K    Freenove_Robot_Dog_Kit_for_Raspberry_Pi/.git/branches
8.0K    Freenove_Robot_Dog_Kit_for_Raspberry_Pi/.git/logs/refs/remotes/origin
12K     Freenove_Robot_Dog_Kit_for_Raspberry_Pi/.git/logs/refs/remotes
8.0K    Freenove_Robot_Dog_Kit_for_Raspberry_Pi/.git/logs/refs/heads
24K     Freenove_Robot_Dog_Kit_for_Raspberry_Pi/.git/logs/refs
32K     Freenove_Robot_Dog_Kit_for_Raspberry_Pi/.git/logs
4.0K    Freenove_Robot_Dog_Kit_for_Raspberry_Pi/.git/objects/info
363M    Freenove_Robot_Dog_Kit_for_Raspberry_Pi/.git/objects/pack
363M    Freenove_Robot_Dog_Kit_for_Raspberry_Pi/.git/objects
8.0K    Freenove_Robot_Dog_Kit_for_Raspberry_Pi/.git/info
64K     Freenove_Robot_Dog_Kit_for_Raspberry_Pi/.git/hooks
4.0K    Freenove_Robot_Dog_Kit_for_Raspberry_Pi/.git/refs/tags
8.0K    Freenove_Robot_Dog_Kit_for_Raspberry_Pi/.git/refs/remotes/origin
12K     Freenove_Robot_Dog_Kit_for_Raspberry_Pi/.git/refs/remotes
8.0K    Freenove_Robot_Dog_Kit_for_Raspberry_Pi/.git/refs/heads
28K     Freenove_Robot_Dog_Kit_for_Raspberry_Pi/.git/refs
363M    Freenove_Robot_Dog_Kit_for_Raspberry_Pi/.git  <----
432K    Freenove_Robot_Dog_Kit_for_Raspberry_Pi/Picture
656K    Freenove_Robot_Dog_Kit_for_Raspberry_Pi/Datasheet
28K     Freenove_Robot_Dog_Kit_for_Raspberry_Pi/Code/Patch
132K    Freenove_Robot_Dog_Kit_for_Raspberry_Pi/Code/Server
1.2M    Freenove_Robot_Dog_Kit_for_Raspberry_Pi/Code/Client/Face
680K    Freenove_Robot_Dog_Kit_for_Raspberry_Pi/Code/Client/Picture
2.0M    Freenove_Robot_Dog_Kit_for_Raspberry_Pi/Code/Client
2.1M    Freenove_Robot_Dog_Kit_for_Raspberry_Pi/Code
544M    Freenove_Robot_Dog_Kit_for_Raspberry_Pi
Getting the software to run on the Pi was somewhat straightforward and the instructions were pretty clear. Unfortunately picamera2 had just been released and it caused some of the video functionality to break. I put the kit down for a few days only to discover that the kit’s repository was updated in the meantime to support it which unblocked me.
Installing the client was not so easy. The provided instructions did not fully work and failed with incomprehensible errors about segfaults. To get it working I ended up creating an entire python environment using conda and manually installing every dependency within it. I suspect this is due to my laptop running on Ubuntu, whereas using the pre-provided Windows or Mac binaries would have been easier.
Interestingly getting the video functionality to work required me to log into the Pi using VNC instead of ssh and manually starting up the server every time. It does not work if I do the same process via ssh.
Another issue is that the dog is setup to connect to a WiFi network. This introduces both latency and the fact that if I had to take the robot with me elsewhere then I would not be able to connect to it without plugging the Pi into a screen and keyboard and setting up a new WiFi connection.
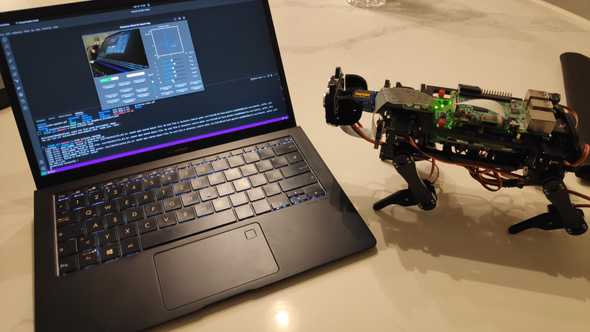
The above issues were a particular pain whenever I wanted to show the robot to anyone. I would have to get the robot, turn it on, wait for it to finish booting, connect with VNC, start up the server, switch to my laptop, activate the correct conda environment, start the client and finally connect.
All of the functionality worked as expected except for the following:
- The kit advertises that it has ‘red ball following’ functionality and actually comes with a red ball in the box, however regardless of what I tried, the dog never reacted to the red ball infront of it.
- The kit advertises some facial recognition functionality which also did not work out of the box.
Latency was an issue overall in some instance, especially when the robot moved into certain pockets of theh house where I knew the WiFi signal falters.
Final Thoughts
The kit is great and can get to a working state with only minor tinkering. It is nowhere close to being anything like Boston Dynamic’s Spot in agility and polish but it definitely makes you feel like you have a tiny version of one.
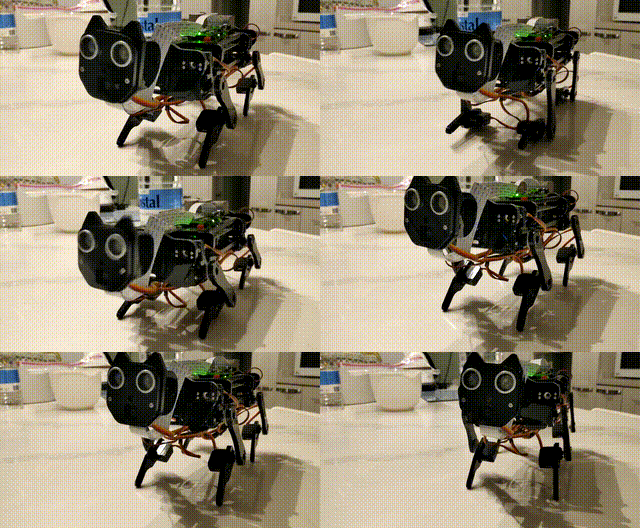
If you are looking for a robot kit that younger children could enjoy and easy to use, this is definitely not the ideal purchase.
If you want a platform open to experimenting and learning with, this is definitely a great option. I highly recommend being at least somewhat experienced in running python scripts and knowing how to install dependencies before considering it.
The future
I think this kit has several avenues with which it could be improved upon:
- The observability. The client does not store any data historically (such as the video stream, battery level, gyroscope values or state of the servos). It would be great to have this data exposed via something such as Prometheus or MQTT to make it easier to visualise.
- The time to getting started. In my opinion, getting started should be as easy as running something along the lines of
docker pull robotdoganddocker run robotdog. Some projects such as flightradar24 offer a Raspberry Pi OS image which you can install directly and get started with much faster than installing each part yourself separately. - The ease of use. An alternative to having a QT based client would be to have the Pi host a web based client and the client connects to a WiFi network provided by the Pi. Whilst this approach has its downsides, this would greatly reduce the latency between issuing commands and seeing the result as well as making the robot controllable from any device capable of a WiFi connection and running a conventional web browser.
- The ease of extensibility. Currently extending the functionality means having to edit the code and restarting the server. An alternative model could be one of plugins, such as being able to run an image classifier on the video stream and have the results available via REST or MQTT.
- An autonomous mode. Right now it only operates in a manually controlled mode. An autonomous mode where it walks and looks around and exhibits some basic behaviour would be a great alternative.
I am planning on using this kit as a test bed for experimenting what I am learning as I read for a Masters in AI from University of Malta so I will likely tackle a number of the above issues as I go along.
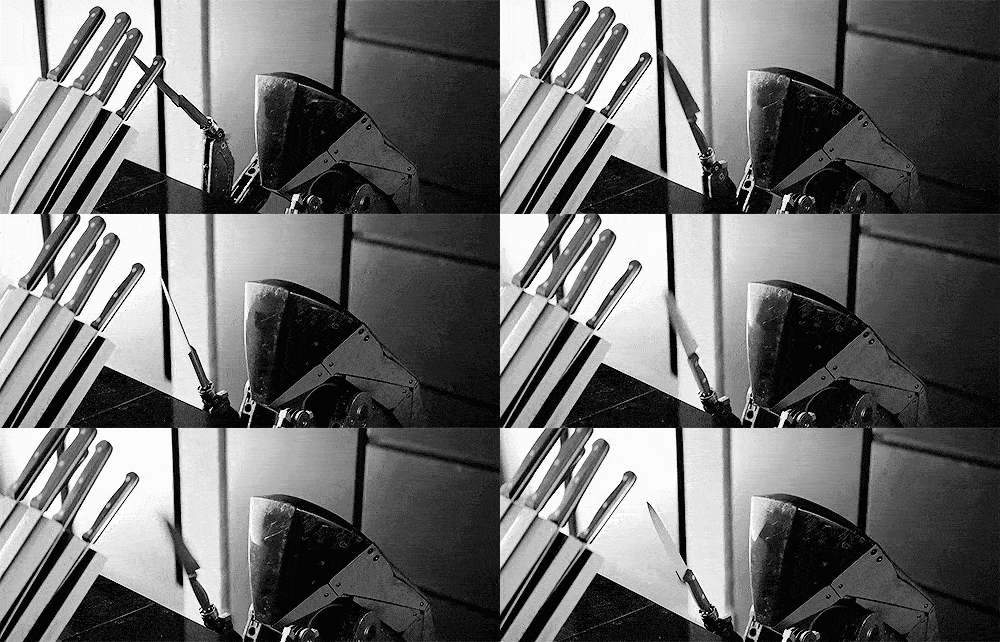
Here’s to hoping we don’t end up with this…
Thanks for reading!


